How to remove press on nails gets messy when people rush the part that matters most: waiting for the adhesive to soften. The safest method depends on what you used, how long the set has been on, and whether you want to keep the press-ons in decent shape afterward. If you start prying before the bond loosens, you can bend the tip, peel up part of your natural nail, or leave yourself with a stubborn strip of glue that is harder to deal with than the manicure was to wear.
This guide is for the real at-home situations: tabs, stronger glue, and the moments when you want to get a set off without acetone. Getting the set off is only half the job. The other half is not turning your natural nails into the next problem.
Why removal goes wrong in the first place
Most bad removals start with impatience. One edge lifts a little, so people assume the whole nail is ready. It usually is not. That is when the sidewall twists, the free edge catches, or the natural nail gets dragged along for no reason.
Fit plays a part too. A press-on that was too narrow or too wide usually comes off more awkwardly because it never sat evenly. Wear time matters just as much. Tabs from last night do not behave like glue that has been through showers, hand washing, typing, and sleep for a week.
The safe rule is simple: soften first, test gently, and only keep moving if the nail releases without a fight.
Start by figuring out what is holding the set on
Before you soak anything, stop and ask what you used.
- Adhesive tabs usually give way with warm water, soap, and oil.
- Nail glue usually needs more time and may need acetone to break down fully.
- Mixed application needs a slower nail-by-nail approach.
If you are not sure anymore, look at the edge. Tabs usually turn gummy once they soften. Glue stays harder and tends to release in smaller stages.
When adhesive tabs are the easier removal
Tabs are usually the easier path. That is a big reason press on nails with adhesive tabs work well for short wear, events, and anyone who wants a gentler exit.
What usually helps:
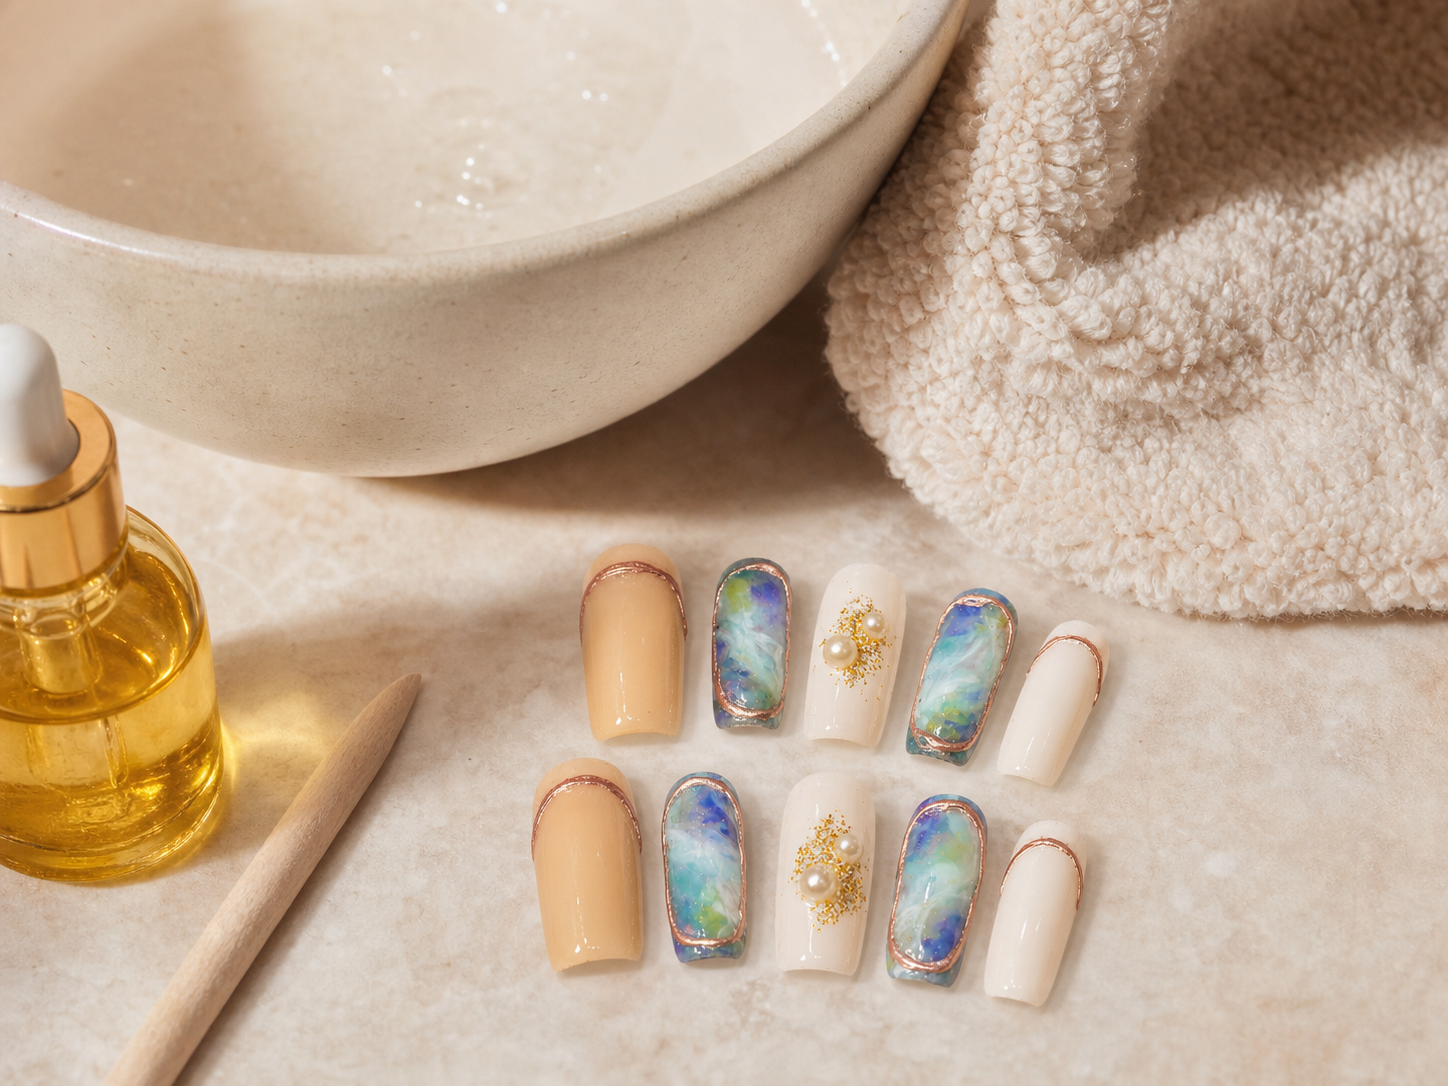
- Soak your fingertips in warm, soapy water for a few minutes.
- Work cuticle oil or another light oil around the edges.
- Test the loosest side with a wooden cuticle stick.
- Lift a little, add more oil, and keep going slowly instead of pulling upward.
If the nail stops moving, go back to soaking. That extra minute or two is usually what saves the natural nail from getting caught underneath.
When nail glue is still holding hard
Glue changes the mood. Warm water and oil can still help at the start, especially if the set is already lifting, but they do not always finish the job. Some glue wear really does need acetone.
When the bond is stronger:
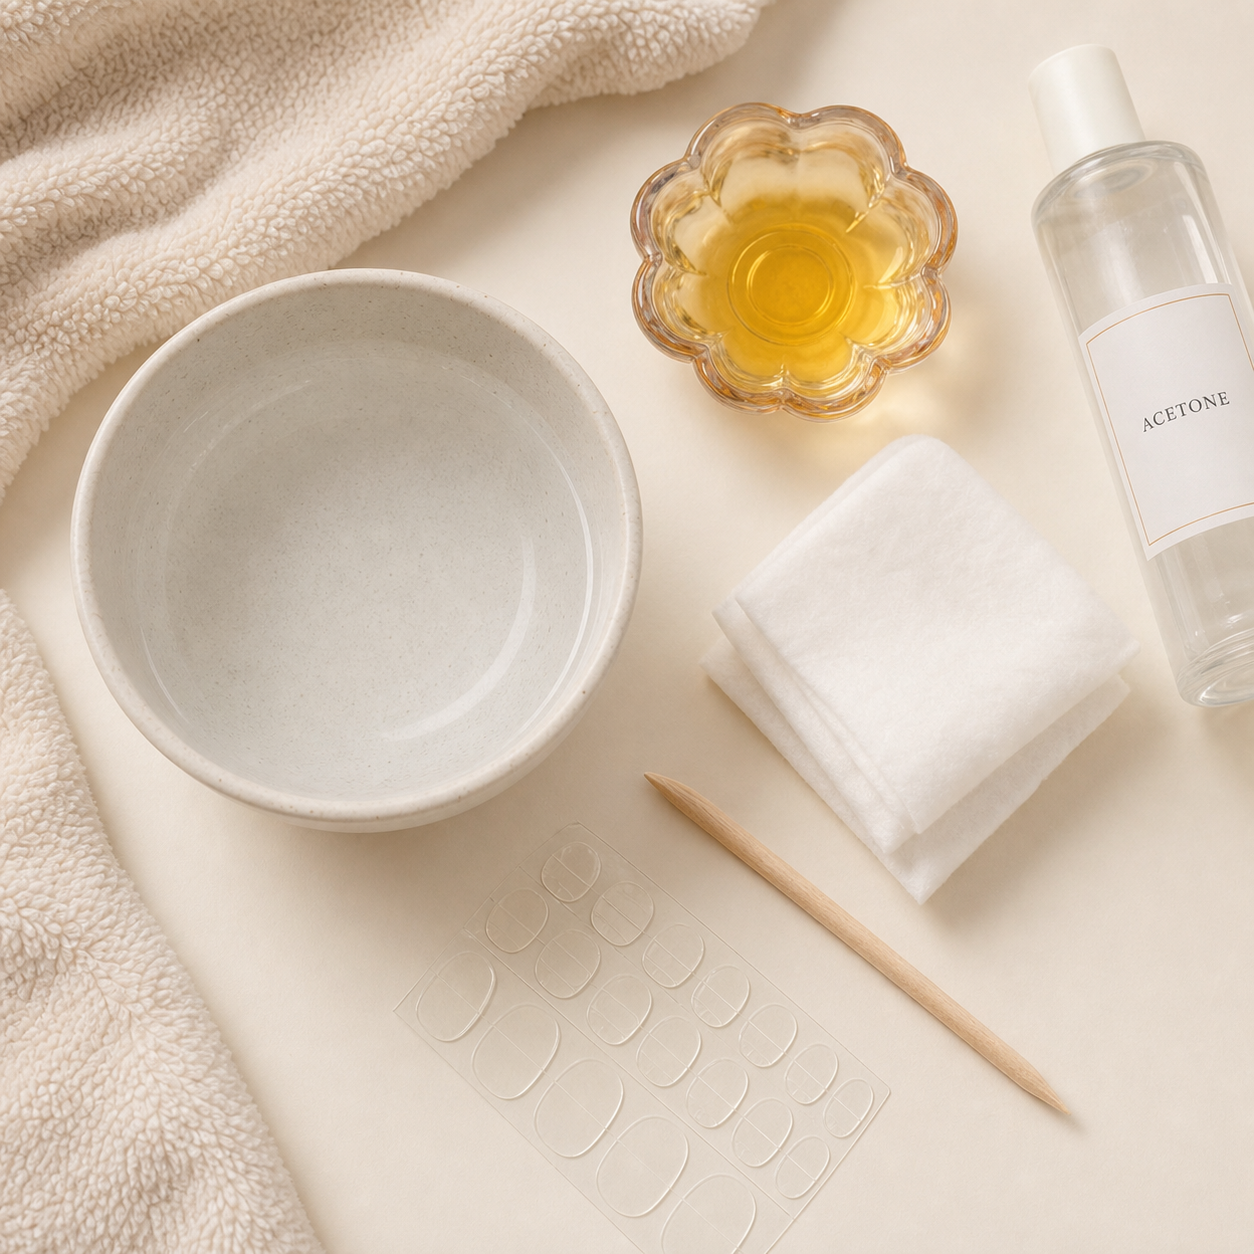
- Protect the skin around the nail with oil or a little petroleum jelly.
- Use acetone on cotton or a small acetone soak when warm water is not enough.
- Let the glue soften before testing the edge again.
- Lift in stages instead of trying to peel the whole nail off at once.
The American Academy of Dermatology says artificial nails, acetone soaks, and frequent touch-ups can leave nails thin and brittle over time. That is the whole reason to keep removal controlled and moisturize afterward instead of treating it like a speed run.
How to remove press on nails without acetone
People look up how to remove press on nails without acetone because acetone works fast and dries everything out just as fast. Skipping it can be a good call, but only when the adhesive is light enough to cooperate.
Warm water, soap, and oil make the most sense when:
- the set was applied with tabs
- the glue layer was thin
- the nails have only been on a short time
- one or two nails are already loosening cleanly
They make much less sense when a full glue set still feels locked down at every edge. Repeating the same soak for half an hour and then forcing the nail is not gentler just because acetone never entered the picture. It is still force.
What not to do when you take them off
This is where most of the damage happens. Skip:
- ripping from the free edge
- twisting side to side
- digging with metal tools
- scraping dry glue aggressively
- filing your natural nail hard once the set is off
If a nail hurts, stops moving, or seems to be taking part of your own nail with it, stop. Re-soften the adhesive and try again later. You are trying to separate the bond, not prove you can outmuscle it.
Clean the leftover glue before you think about rewearing the set
Removal is not finished the second the press-ons come off. The cleanup step decides whether the set is still wearable and whether your natural nails feel smooth tomorrow.
After removal:
- wipe off oil and residue
- ease away any softened glue without digging
- check the sidewalls for bending or cracks
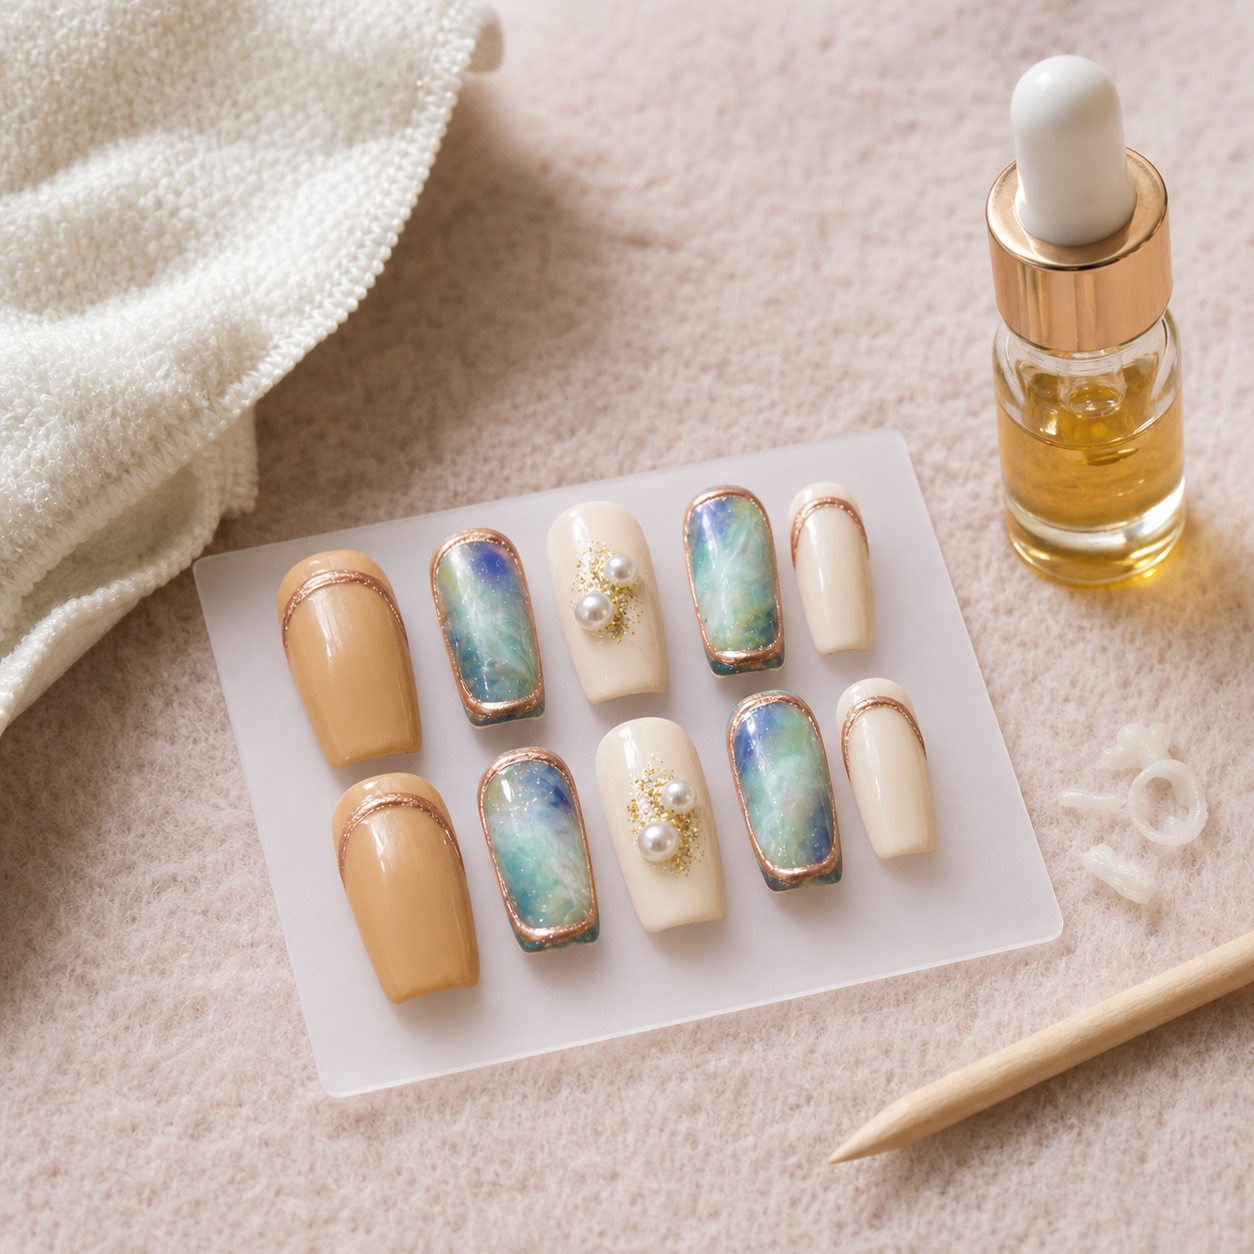
- put the nails back in order if you plan to save them
That last step matters if you like reusable press on nails. Lower-profile sets with sealed details usually survive cleanup better than bulky 3D designs that get knocked around during removal.
Give your natural nails a break when they look stressed
A careful removal should mostly leave you with dryness, not real damage. What you do not want to shrug off is peeling, sharp tenderness, redness around the skin, or a rough white surface that keeps catching. That is the moment to stop reapplying another set right away.
AAD guidance on artificial nails and manicure safety is useful here: artificial nails can make existing nail problems worse, and rough removal can leave nails thin, brittle, and dry. If the nail or surrounding skin still looks irritated after the set is off, a dermatologist makes more sense than another round of DIY fixes.
A good removal habit is a boring one
The best removals are usually uneventful. You soak. You add oil. You wait. You test the edge. Then you wait again. It feels almost dull, which is a good sign.
If you want a shorter brand-side checklist after the full guide, LuxeClaw’s removal walkthrough is a useful companion read. Then come back to your own hands and judge each nail honestly. If the bond is soft, keep going. If it still feels stuck, give it more time.